Setup with docker-compose
You can deploy the CMS by running the installation script
devops/deployment/install-default-setup.sh.
You will be prompted to type:
- The DNS or IP of the server.
- Your preference on using the Keycloak server.
- Your preference on using the monitoring stack.
- The intended usage of TLS (use of http or https).
- The site's name to be displayed by the Flutter application.
The only requirement to deploy the solution is to have Docker and docker-compose installed. It may take a while because all images are built from scratch.
After the deployment all services can be accessed via the NGINX reverse proxy in the URLs:
- Flutter application: <DNS_OR_IP>/
- REST API: <DNS_OR_IP>/cms/v1.0/
- Keycloak: <DNS_OR_IP>/auth/
- Grafana: <DNS_OR_IP>/grafana/
tip
In case you have a DNS domain registered and used it during the installation you can get TLS certificates using the command:
docker exec -it sxcms-nginx certbot --nginx -d <DNS_OR_IP>Flutter application#
The Flutter application can be reached in the URL:
<DNS_OR_IP>/The Drawer can be expanded by hitting the button in the upper left corner of the screen.
Hitting the Resources page will cause the browser to redirect to the Keycloak interface.

After logging in an empty Resources page screen will be available with the prompt to create a resource if the authenticated user is an administrator or a creator.
Hitting plus icon and completing the form will create a new resource.

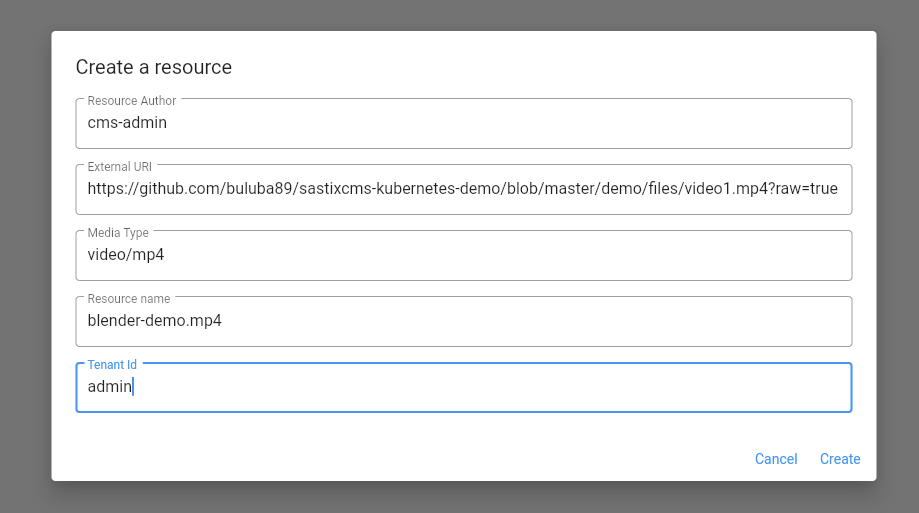

This page supports all CRUD (Create - Read - Update - Delete) functionality with multitenancy support.
Grafana#
If you have enabled the monitoring stack you can login to the Grafana interface using:
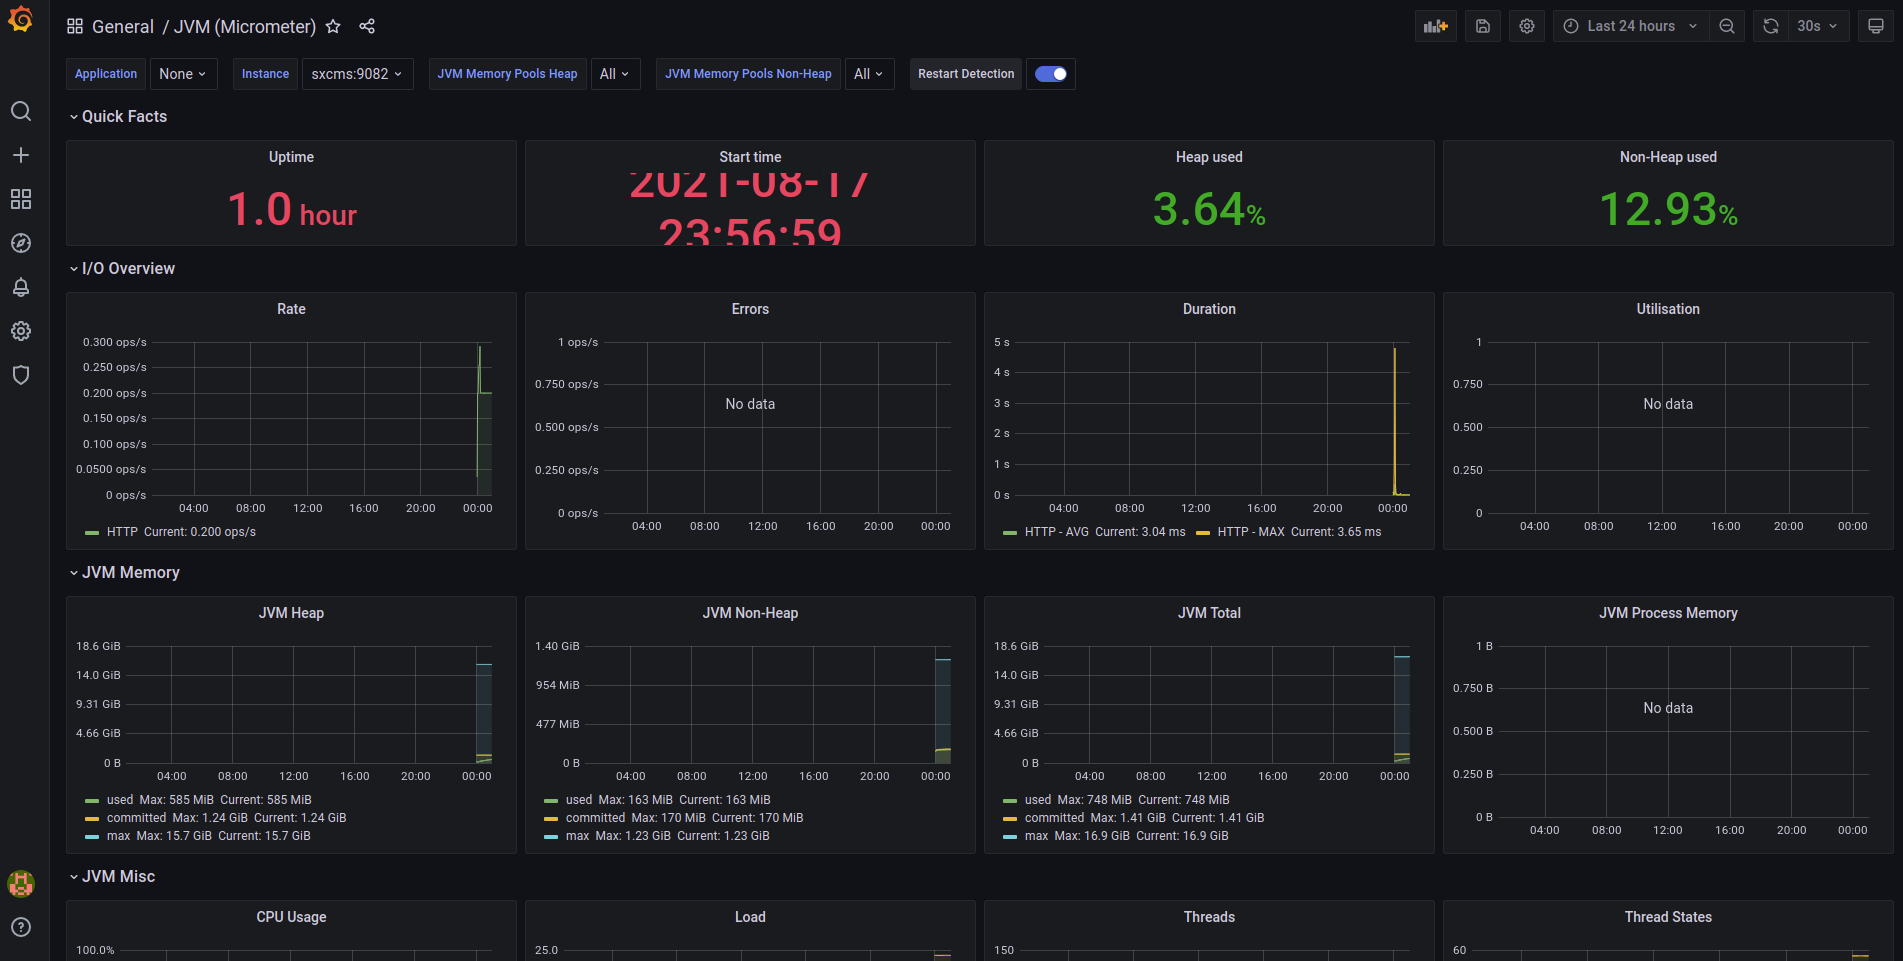
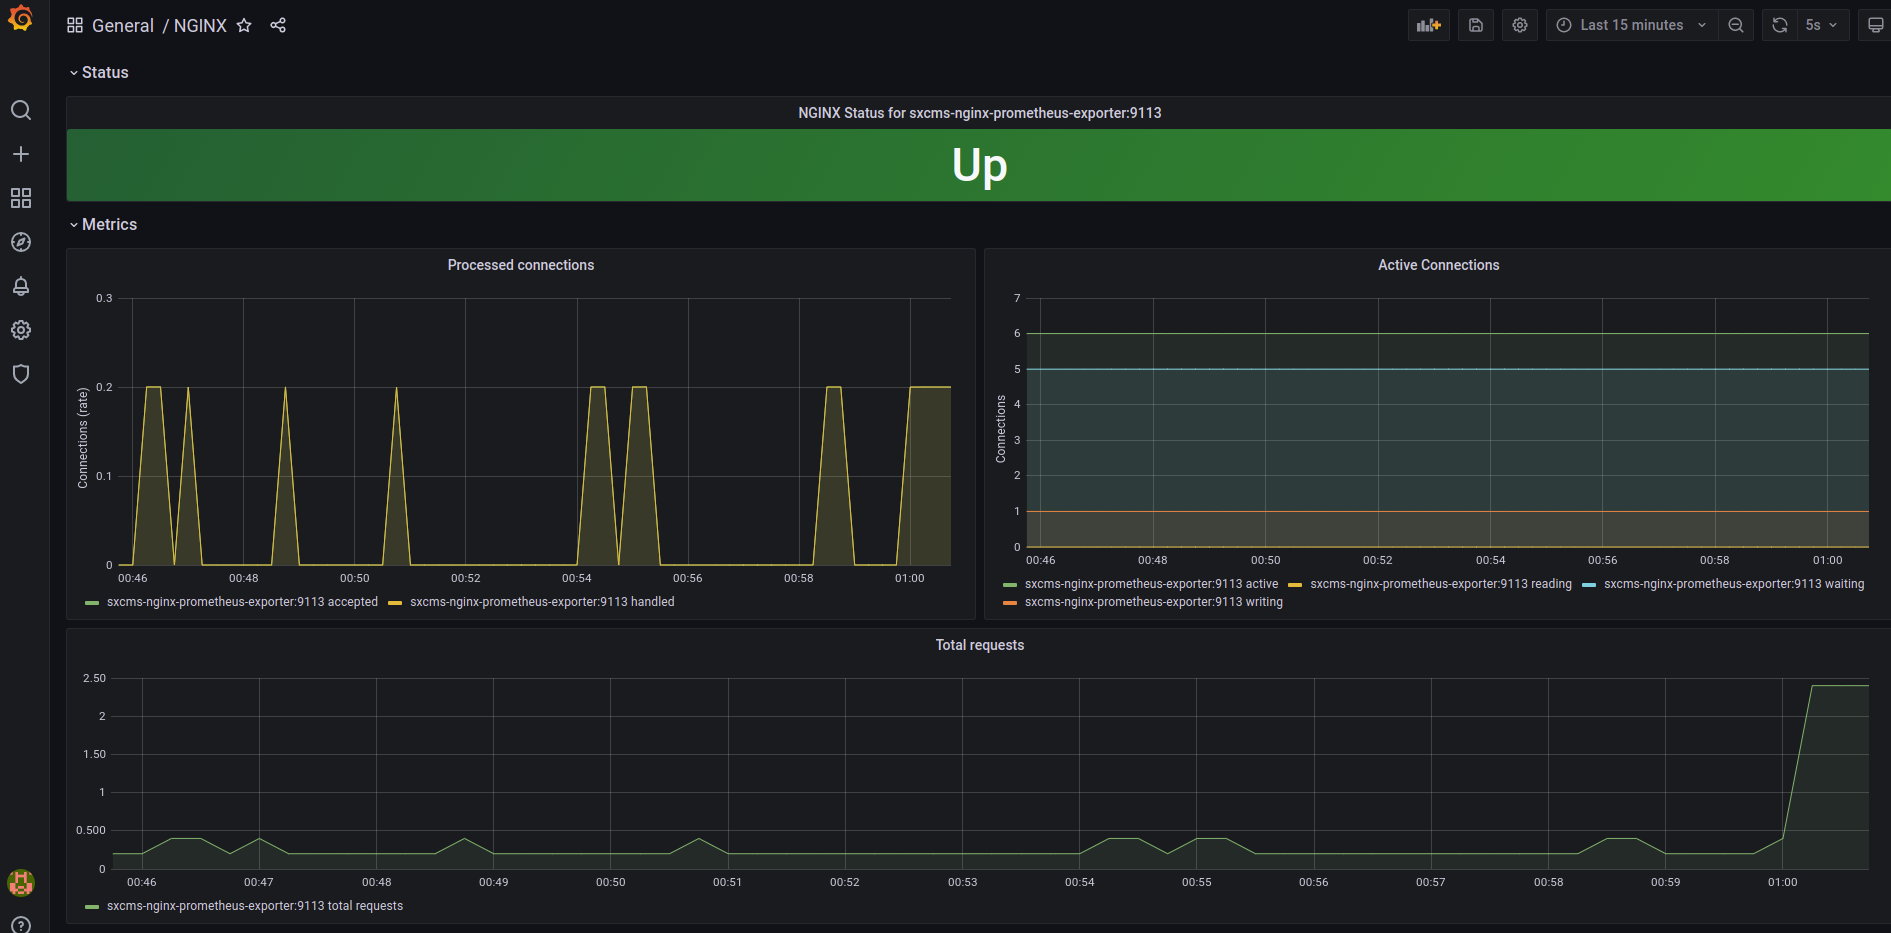
<DNS_OR_IP>/grafana/You can login using the admin/admin username/password combination and you will be prompted to change the password. Two dashboards, monitoring the Spring Boot CMS server and the NGINX reverse proxy, are already configured and provisioned.
The two dashboards are named NGINX and JVM (Micrometer)
Keycloak#
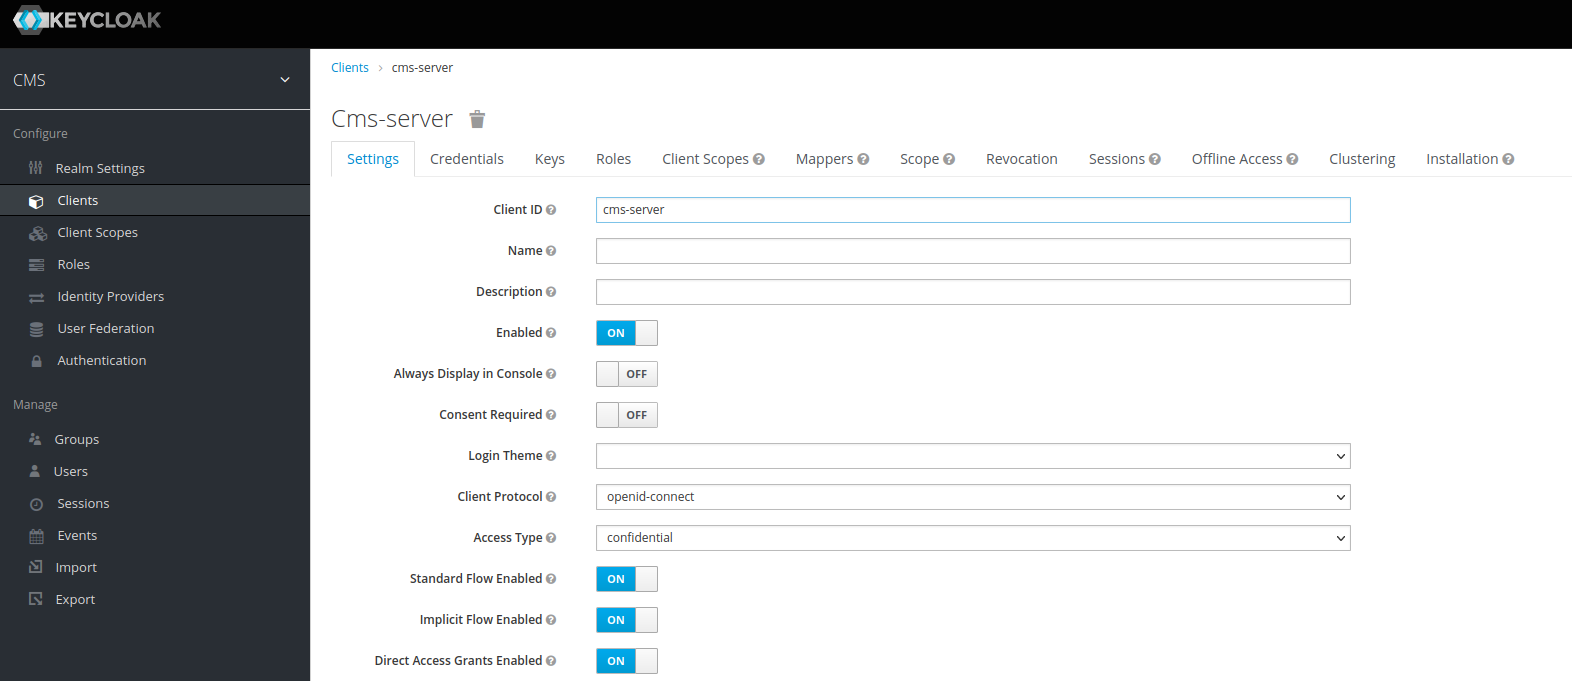
If you have enabled Keycloak enabled you can login to the Keycloak admin interface using:
<DNS_OR_IP>/auth/The client used by the CMS server is called cms-server and exists in the CMS realm.
danger
You can login using the admin/Pa55w0rd username/password combination and we strongly suggest that you change it.
Important points#
The three default username/password combinations (cms-admin/cms-admin, cms-creator/cms-creator, cms-consumer/cms-consumer) are already provisioned and we strongly suggest that you change these, too.
The client secret for the CMS is already set. You can change it in the Keycloak interface and in
devops/deployment/sxcms/.envfile and executedocker-compose up -din thedevops/deployment/sxcms/.envto apply the changes.You can make requests (authenticated if Keycloak is enabled) to the CMS-API using the base URL.
<DNS_OR_IP>/cms/v1.0/and
<DNS_OR_IP>/apiversion/- You can setup custom alerts using the Grafana interface. ( Grafana Alerts )
danger
It is of critical importance for the security of the production setup to:
- Use TLS.
- Change the default username/password combinations.
- Change the client secret both on the Keycloak interface and on the server properties.